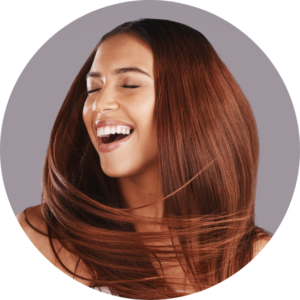
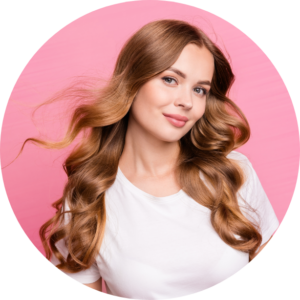


How to Blow-Dry Straight Hair for Body, Bounce, and Shine
Most people assume a good blowout needs a salon. It doesn’t. With the right steps, you can blow dry your hair straight at home and get results that actually look polished:smooth, full of body, and genuinely shiny. It just takes the right technique and a bit of patience.
Here’s how to do it properly.
Start With Clean, Towel-Dried Hair
Everything starts with your wash. Blow-drying dirty hair or sopping wet hair will work against you from the start.
After washing, gently squeeze out excess water with a towel; don’t rub. Rubbing roughens up the hair cuticles and leads to frizz before you’ve even picked up a blow dryer.
Once your hair is towel-dried, use a wide toothed comb to gently work through any tangles, starting from the ends and working your way up. This prevents breakage and preps each strand for even drying.
Apply Heat Protectant Before Anything Else
This step matters more than most people realise. A good heat protectant coats the hair shaft and creates a barrier between your hair and the heat. Skip it, and you’re likely to end up with dull, dry, or damaged hair over time.
Spray or apply it evenly through damp hair, focusing on the mid-lengths and ends where heat damage tends to show up most. Don’t glob it on the roots. That just weighs things down. Then comb it through again to distribute it evenly.
Rough Dry to About 80 Dry
Before you start styling, you need to get your hair to around 80 dry, meaning about 80% dry. This is a key step that a lot of people skip.
Point the nozzle of your hair dryer downward and use your fingers to lift and move the hair around. Keep the dryer moving and don’t hold it in one spot.
This rough-drying phase removes the bulk of moisture without putting too much heat stress on your hair. It also helps prevent frizzing when you go in with the brush later.
Once your hair feels mostly dry but still has a little give and slight dampness, you are ready to style.
Section Your Hair Properly
Good sectioning is what separates a messy blowout from a clean one. Clip the top sections of your hair up and out of the way, and start working from the bottom layers first. This ensures every section gets properly dried and styled without the upper layers getting in the way.
For most hair types, sections about 2–3 centimetres wide work well. A small section of hair dries faster and gives you more control over the finished result. If you try to take too much at once, the heat won’t penetrate evenly and you’ll end up with sections that still have moisture trapped inside.
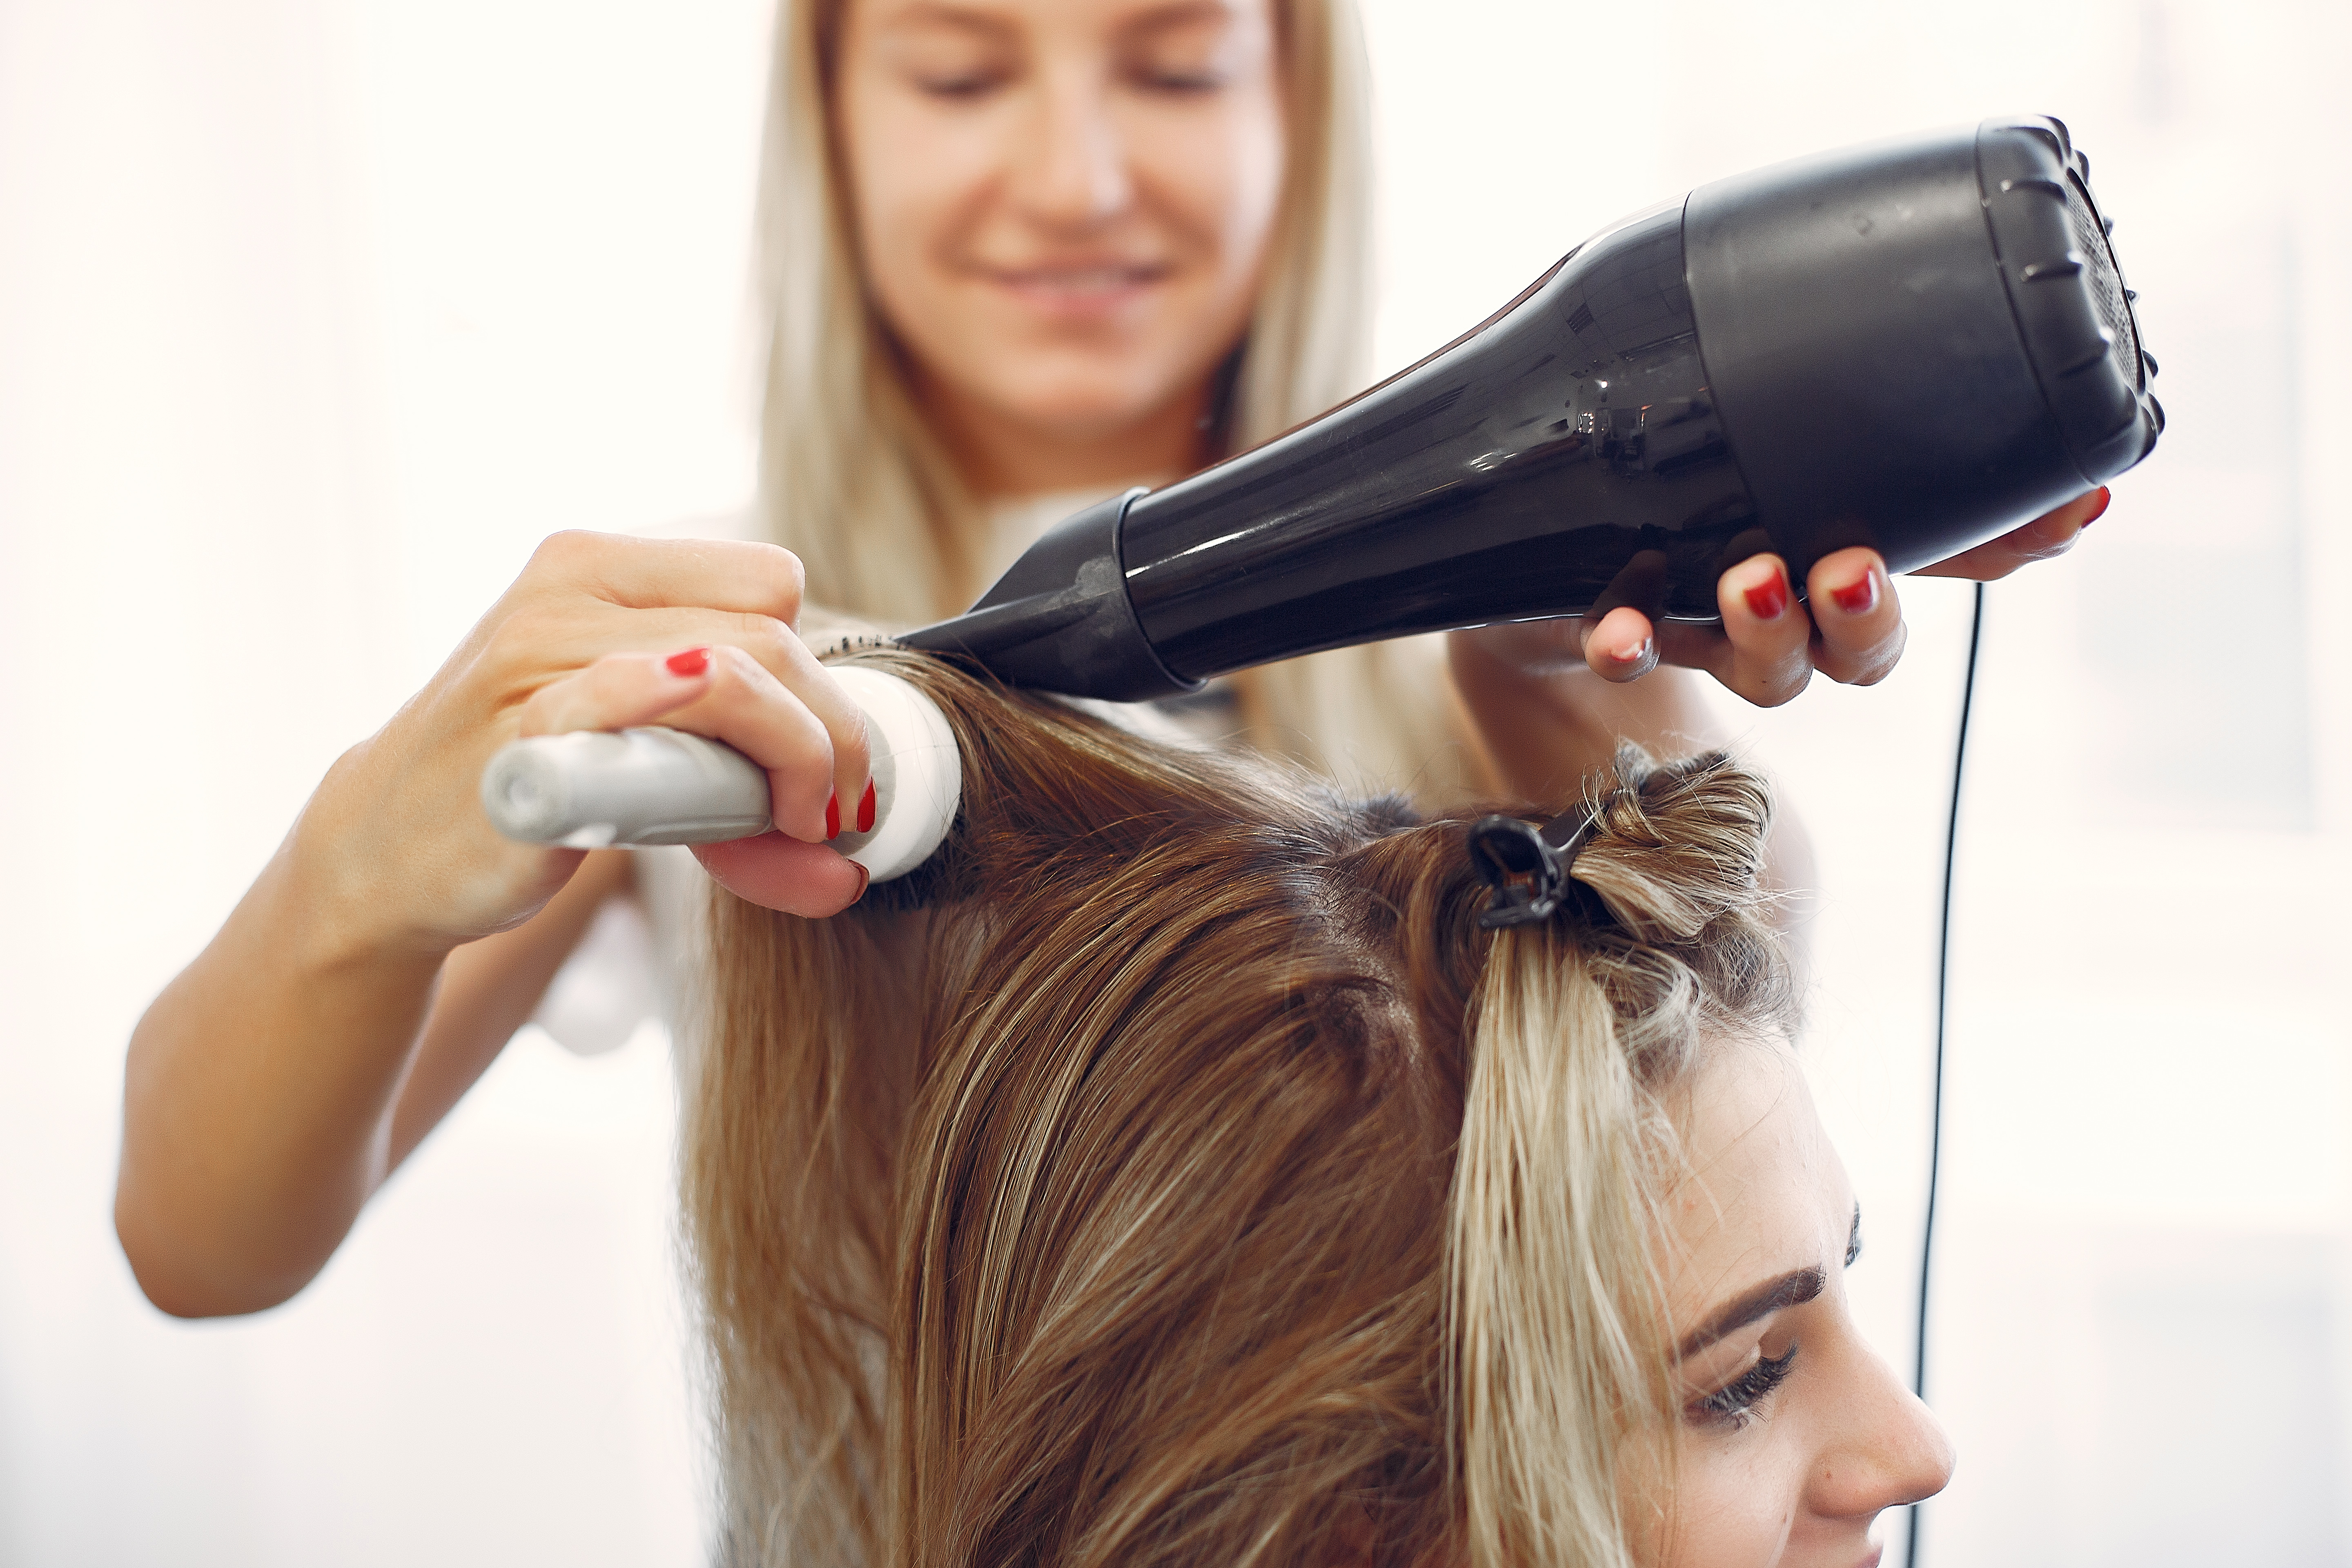
The Blow Dry Technique That Actually Works
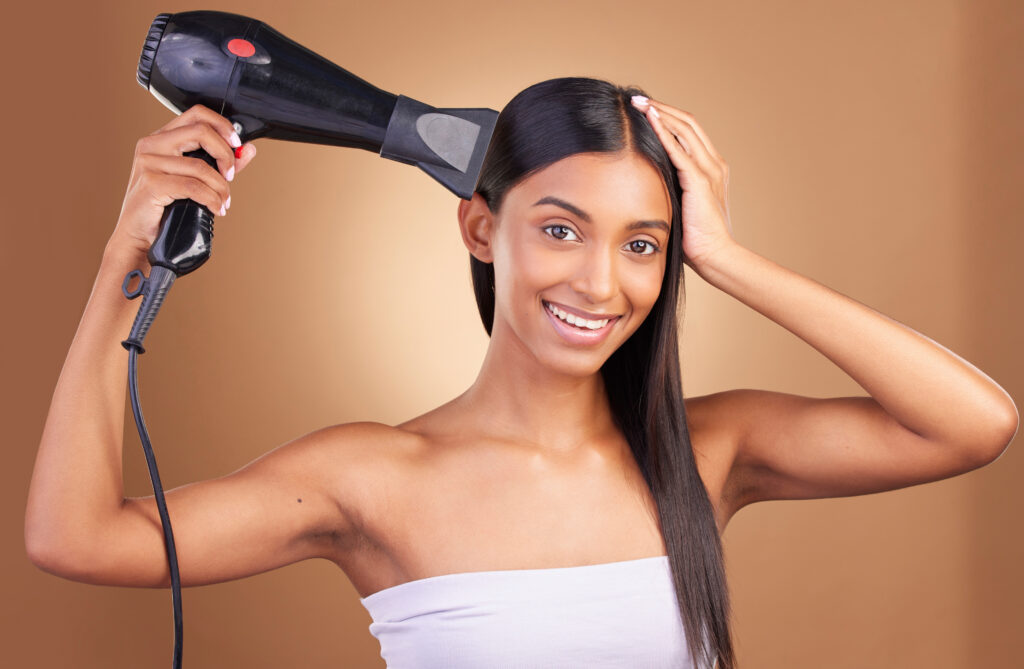
Now for the main part. Take a section of hair and position your round brush underneath it, close to the roots. Point the nozzle of your blow dryer downward . This is important because it helps smooth the hair cuticles and reduces frizz.
Pull the brush slowly down the length of the section as you follow it with the dryer. The important thing is to pull the brush with tension as you go as this is what gives you that straight, polished finish. Don’t rush it.
For body and bounce at the ends, roll the brush slightly inward or outward as you reach the tips and hold it there with the heat on it for a few seconds before releasing. This curls the ends just slightly and gives your blowout that full, salon-style look.
Work your way up through each section, from the bottom layers to the top sections. As you go, you’re building layers of smooth, straight hair with just enough bend to feel bouncy rather than flat.
If you want to learn more about achieving different results, Different Types of Blow Dry Styles is worth a read as it breaks down the options depending on your hair texture and finish preference.
Heat Settings: Don’t Just Blast It on High
A lot of people go straight to the highest heat setting and wonder why their hair looks fried. Higher heat doesn’t mean faster or better. It just means more potential damage.
For fine or colour-treated hair, medium heat is usually the right call. It takes a little longer but keeps the hair shaft intact and the shine intact. For thicker or coarser hair, you can go higher, but still keep the dryer moving and never hold it in one place for too long.
If you’re not sure, err on the side of medium heat and work in smaller sections. You’ll get just as good a result with less stress on the hair.
For more on protecting your hair during the process, How to Blow Dry Hair Without Damage covers exactly what to watch out for.
Keeping It Frizz Free
Frizz usually comes down to two things: moisture that wasn’t fully dried, and heat applied in the wrong direction.
Make sure you fully dry the hair before moving to the next section. Run your fingers through each section after you’re done with the brush . If it feels even slightly cool or damp, go over it again. The cool feeling is moisture, and leaving it will cause frizz to creep back as the day goes on.
Directing the nozzle downward consistently throughout the process makes a big difference too. It keeps the cuticles lying flat, which is what creates that smooth, frizz free finish.
If you specifically want to nail this step, the blog post: How to Blow Dry Your Hair Straight Without Frizz goes into even more detail.
Finishing for Shine
Once you’ve completed each section, switch your blow dryer to the cool shot setting if it has one. Running cool air over straight hair with blow dryer work done seals the hair cuticles, locks in the style, and adds real shine.
A small amount of serum or shine spray after drying ( applied lightly to the mid-lengths and ends) can also lift the finish from “looks good” to “looks like you just walked out of a salon.” Less is more here. One to two drops of oil or a light mist is enough.
In Conclusion
Blow-drying straight hair for body, bounce, and shine isn’t complicated, but it does require doing things in the right order. Start with a good heat protectant, section properly, dry to 80 dry before styling, keep your heat setting at medium, and always point the nozzle downward. Do those things consistently and you’ll get a result that lasts all day.
And if you want to take the guesswork out of it, there’s nothing better than having it done by a professional once. They’ll help you see what your hair is actually capable of.
Ready for a salon-quality blowout? Book a session with the team and walk out with smooth, shiny, bouncy hair done properly.